Airline travel can be a stressful experience, and the last thing you want to deal with is the hassle of paper boarding passes. Fortunately, if you own an iPhone, obtaining your boarding pass can be a quick and easy process, leaving you with one less thing to worry about as you navigate the airport terminal.
With your phone in hand, you can easily access your boarding pass, eliminating the need to fumble through your wallet or purse for a small piece of paper while also juggling your ID, laptop, and other belongings. So why not simplify your travel experience by going paperless and using your iPhone to streamline the boarding process?
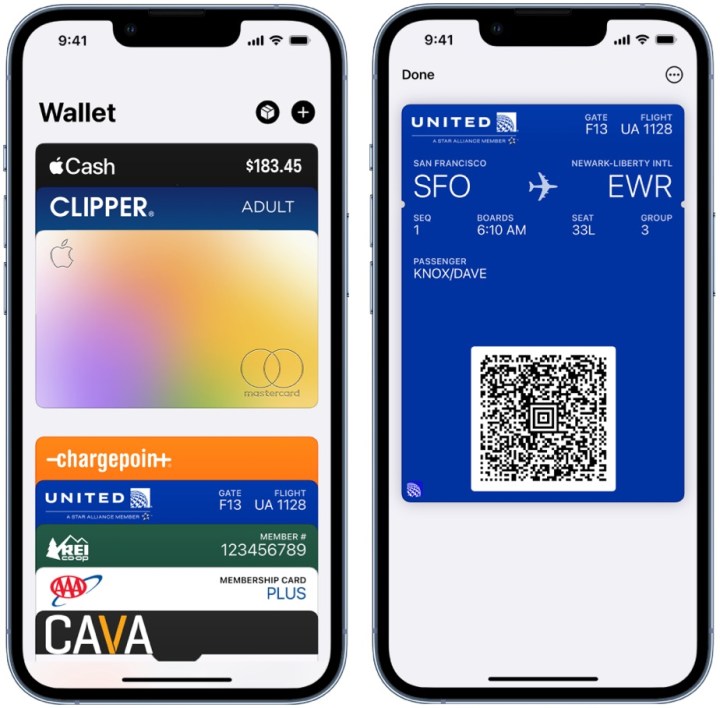
If you have an iPhone with Apple Wallet installed, you can easily present your digital boarding pass without having to fumble through your bag. Here’s everything you need to know about adding your boarding pass to Apple Wallet.
How to add a boarding pass to Apple Wallet
After checking in online with Safari or Chrome (or whatever web browser you use), the airline can email your boarding pass. Apple Mail users can have the pass automatically added to their Apple Wallet, or you can manually add it if necessary.
Step 1: Tap Add to Apple Wallet on your boarding pass, ticket, or other pass in the app, email, notification, or whatever form of communication you received it in.

Apple
Step 2: Follow the on-screen instructions and tap Add in the upper right corner if needed.
If you are unable to add your boarding pass, ticket, or other pass to the Wallet app, reach out to the issuer to confirm compatibility with the Wallet app. Adding a pass to the Wallet app on your iPhone also adds it to the Wallet app on your paired Apple Watch.

Apple
How to use a boarding pass in Apple Wallet
Once you’ve added a boarding pass to Apple Wallet, you’ll want to know how to use it! Here’s what you should keep in mind:
Step 1: Open your pass from within the Wallet app. You can find and open the Wallet app, or double-press the side button on your iPhone. If you have an older iPhone with a Home button, double-press that.
Step 2: If you only see one card after opening the Wallet app (your default payment card), tap that card to see all of your cards and passes.
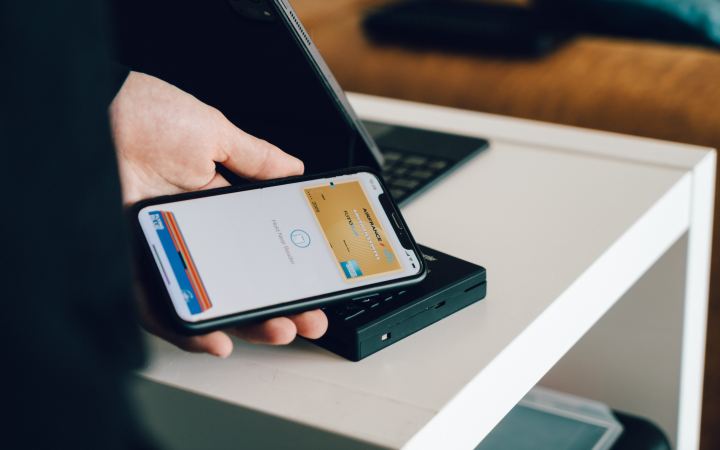
Step 3: Tap on your boarding pass, then present your iPhone to the contactless reader or attendant.

Unsplash
How to remove a boarding pass in Apple Wallet
You can easily remove old and expired passes, such as resort passes, boarding passes, rewards cards, and event tickets from the Wallet app on your iPhone or Apple Watch.
Step 1: On your iPhone, tap on the Wallet app. Next, tap the pass that you want to remove.
Step 2: Choose the More button with three dots, then tap Pass Details.
Step 3: Finally, tap Remove Pass, then confirm.
Once you have saved your mobile boarding pass into Apple Wallet, simply open the app and present it to airline staff to be tapped or scanned by the contactless reader. Remember to save each boarding pass individually for flight check-in and delete old passes to avoid confusion. It’s also a good idea to have a paper copy of your itinerary as backup.
Editors’ Recommendations
Credit: Source link


Comments are closed.