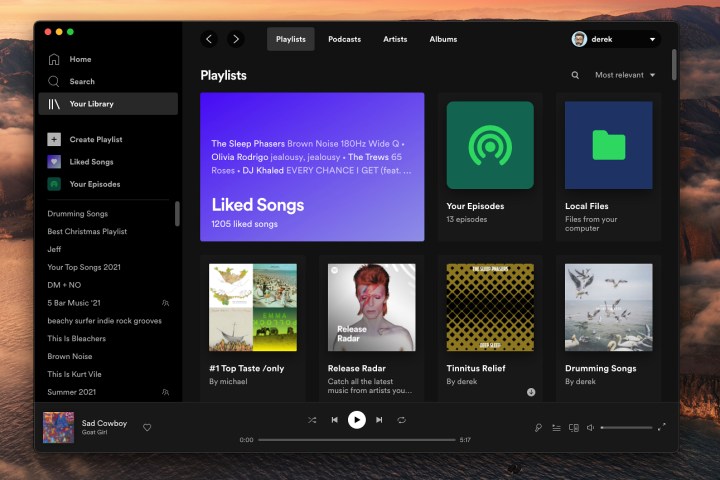
Spotify is the world’s most popular music streaming service for a reason. It has a massive catalog of music and podcasts, is full of cool music discovery and sharing features, and is really easy to use.
However, with its recent price increase and the fact that it still hasn’t joined most of its peers in offering a hi-res audio quality option, you may be considering jumping ship for its closest competitor, Apple Music, which counts lossless hi-res tracks, mind-bending spatial audio, Dolby Atmos Music tracks, and a catalog that rivals Spotify’s among the many attractive reasons to switch.
But there’s one problem: you’ve spent a lot of time creating playlists and marking songs and albums as your favorites in Spotify. Is it worth the switch? Will all that hard work be lost in translation?
The good news is that there are several excellent tools, both free and paid, that can help to make the transition to Apple Music as painless as possible, allowing you to transfer your important playlists and more. We’ll go over our favorite free method, along with some paid services that offer extra features.

Derek Malcolm / Digital Trends
Getting started
One of the best things about switching from Spotify to Apple Music is that it doesn’t particularly matter if you’ve used Spotify for free or have been a Premium subscriber. Free Spotify users have always been able to create their own playlists; they just couldn’t manually select the songs they wanted to play. You’d have to shuffle them every time. Here are a few things to keep in mind before you get started.
Step 1: You will need a Spotify account with playlists you want to transfer. That’s it. These are playlists that you created yourself or other user-generated ones that you’ve followed. Playlists curated by Spotify, like Discover Weekly and others, may also appear as options to transfer, but that may not always be the case. Your mileage may vary.
Step 2: The other requirement from the Apple Music side is that you are subscribing to the Apple Music service, which requires a fee. It’s not enough to just have the app. You need to sign up and have a functioning subscription (trial periods are OK) to receive the playlists you’re looking to move over.
Note: Also, because Spotify and Apple Music each have songs that may not be available between them, there is a chance you’ll lose out on some tracks or albums that Apple Music doesn’t have. The transfer methods below should make that clear when it comes time to push the button and make the actual switch.

Use an app like SongShift
Step 1: If you’re already using an iOS device and want to transfer things that way, there are apps for that. SongShift is our favorite app for getting your playlists on Apple Music. You can try it out as a guest instead of setting up an account, but it’s free to use unless you buy into a Pro account, which quickens the process and gives you other perks.
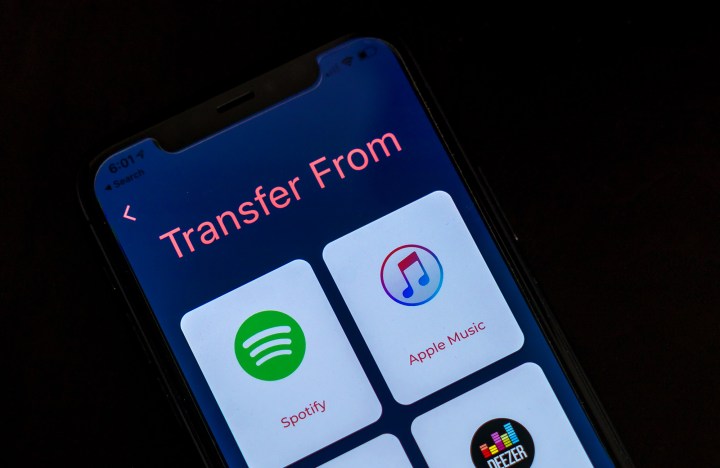
Step 2: Choose the account you want to transfer songs between — in this case, you will choose Spotify and Apple Music. Sign in to both accounts on SongShift.
Step 3: Select Setup source, aka where you are transferring music from. Head to your Spotify playlists, and find the ones you want to bring over to Apple Music. When you select the playlists, albums, or songs you want to move over, you will see everything that matches, as well as songs that don’t. You can try rematching those songs or ignore them so that they don’t transfer over the wrong song (which can happen). Under the free tier, transfer times are longer than under a Pro subscription, so keep that in mind.

Step 4: Now you’ll be asked to Setup destination, which is as simple as choosing Apple Music. When you are done, select I’m finished. SongShift will allow you to review the song matches it is planning and let you know about any significant failed matches so that you can try rematching them if necessary. When everything looks OK, SongShift will begin the transfer. Since it takes a while, it’s a good idea to do this on a desktop instead of a device that has battery life.
Alternative app: Another iOS app doing the same thing is Switcheroo Transfer. It’s entirely free to use, though more limited in scope as far as the services it supports. The user interface is also more streamlined and basic. It enables you to sign in to your Spotify account, select the playlists you want, and move them over to Apple Music. Again, you will need an active Apple Music subscription to get this working, and you’re also limited to only transferring playlists. Albums and songs don’t appear on their own.

Use a paid transfer service to get the job done
A bunch of these services have popped up over the years, and they’ve gotten much better in that time, making this process easier than ever. You can use these from a web browser or mobile app and maybe even a desktop app for Windows, macOS, and Linux. For the most part, they are broken down into free and paid tiers. Free tiers may limit you to transferring one playlist at a time, as opposed to paid plans that let you move entire libraries at the drop of a hat.
Free Your Music is like that. Pay $15 as a one-time fee and transfer over an unlimited number of songs, playlists, and albums. Pay for a premium or lifetime subscription, and you can do more, like keep playlists in the cloud, sync music between different services, and share them, too. That means you can switch from Spotify to Apple Music yet keep the Spotify account active (if you choose to) to have both services stay in line with each other.
Soundiiz also keeps a fair bit of its better features behind a paywall. For example, the free tier lets you transfer Spotify playlists you created, but not any that Spotify curated. You’re also limited to transferring playlists one at a time, and only if there are 200 songs or fewer in each of those playlists. Pay $4.50 per month or $36 for a full year to lift those restrictions and have way more leeway over how to curate or prepare the content you’re switching over.
Tune My Music follows a similar path. The free tier limits you to 1,000 tracks and has no option to sync anything in case you’re in a situation where you want to keep Spotify and Apple Music playlists equally active and in sync. Pay $4.50 per month or $24 for the year for unlimited conversions, plus up to 20 automatic syncs.

Cancel Spotify
If you did have a Spotify subscription, especially a paid one, now is the time to cancel it. After all your transfers are done, visit Spotify’s account overview webpage.
Step 1: Find the Your plan section. Here, select the button that says Change plan.
Step 2: Scroll down to the Cancel Spotify section and choose Cancel Premium. Confirm that you do indeed want to cancel.
Step 3: Check your email for a confirmation message. It’s very important to get this message or your account wasn’t actually canceled. Spotify doesn’t have much in the way of customer service, but if something goes wrong, you can try contacting them and asking to speak to a human.
Step 4: Thankfully, Spotify has also brought back the ability to fully close your account. So, after canceling Premium, you can visit this page to close your account permanently. You will have the option to reactivate in for seven days, after which it will disappear. You’ll also lose access to audiobooks and playlists, so don’t try this until everything is transferred.
Editors’ Recommendations
Credit: Source link


Comments are closed.